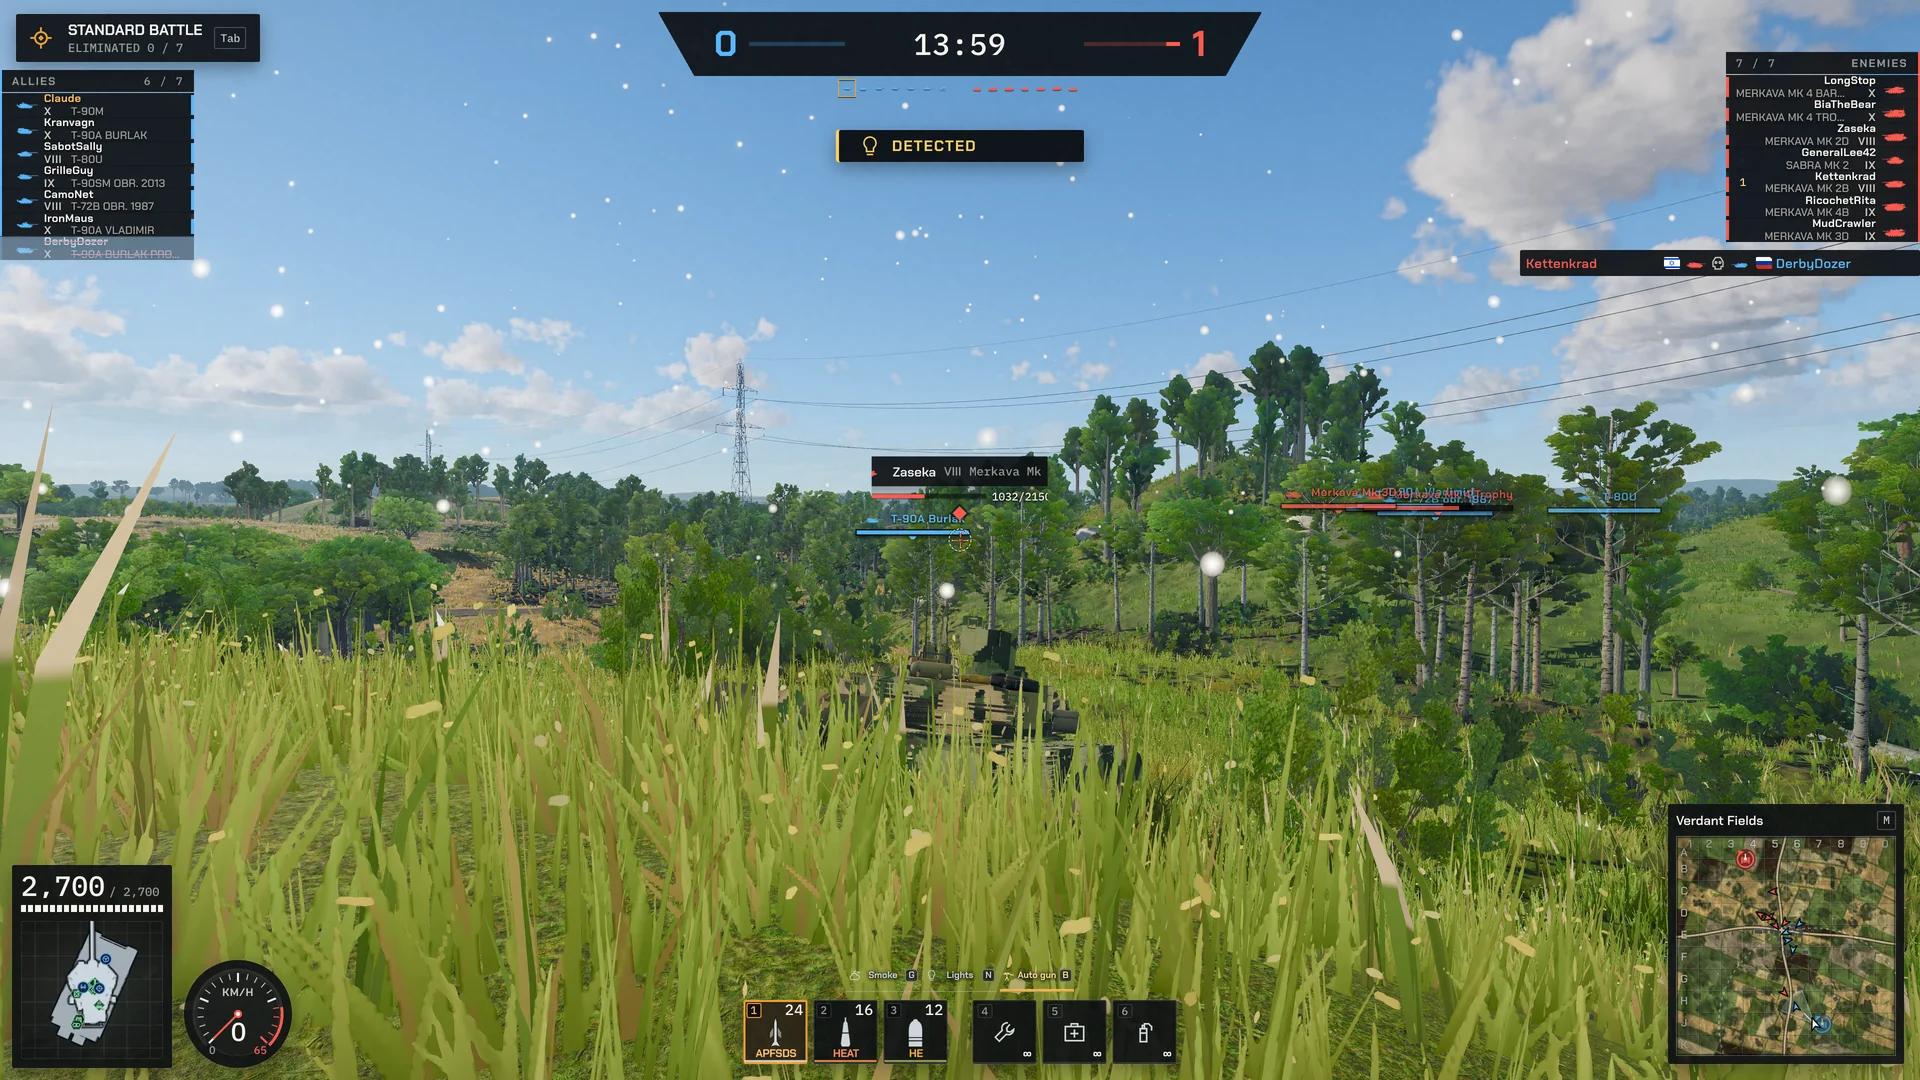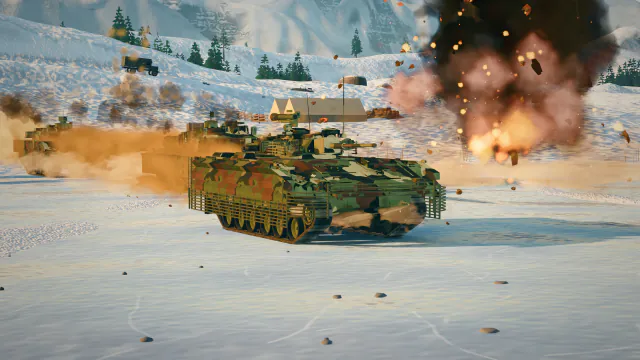
Penetration, angles, modules and crew, and who sees whom, charted from the game's own rules.
Penetration
A shell goes through when its penetration, rolled 75–125 %, beats the armour it meets.
- OFL 120 F2 APFSDS
- OECC 120 F1 HEAT
- Penetration falls linearly from its 100 m figure to its 1,000 m figure, then on to 2,000 m where the shell has one.
- Penetration and damage each roll 75–125 % of their figure.
- HEAT keeps its penetration at any range.
The armour overlay
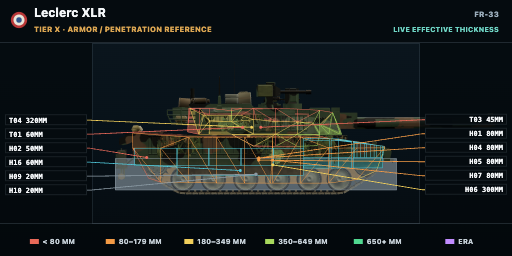
In the sight, H paints the enemy for the shell you have loaded: green goes through, amber may, red will not. It counts the angle, spaced armour, ERA and range.
Angling
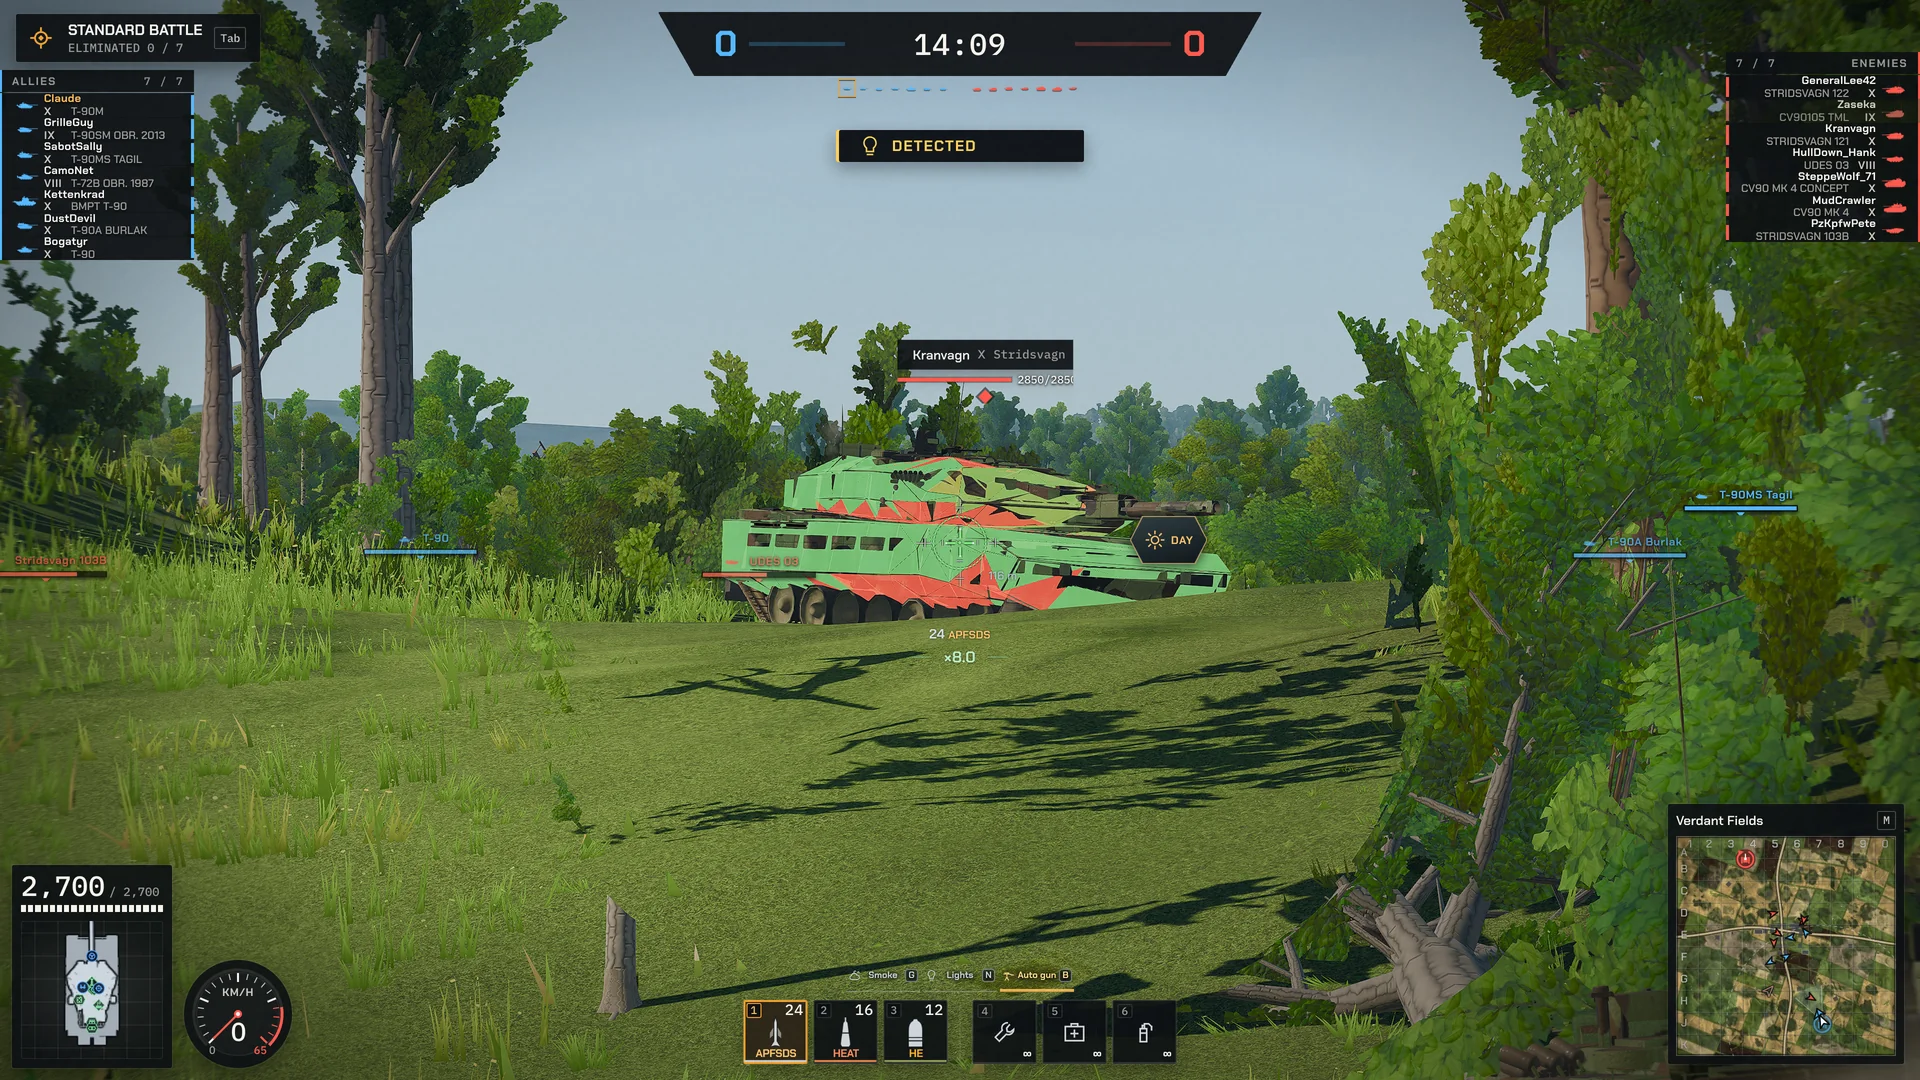
Angle the plate and it gets thicker along the shell's path, until the shell bounces off.
- AP, 75 mm bounces past 70°
- APCR, 75 mm bounces past 70°
- APFSDS, 120 mm bounces past 78°
- HEAT, 120 mm
- Effective armour is the plate divided by the cosine of the angle less the shell's normalization.
- APFSDS turns 2° toward the plate and bounces past 78°.
- AP turns 5° toward the plate and bounces past 70°.
- A shell 3× wider than the plate never bounces.
- A shell bounces at most 2 times; a HEAT jet dies on its first.
Spaced armour, ERA and HE
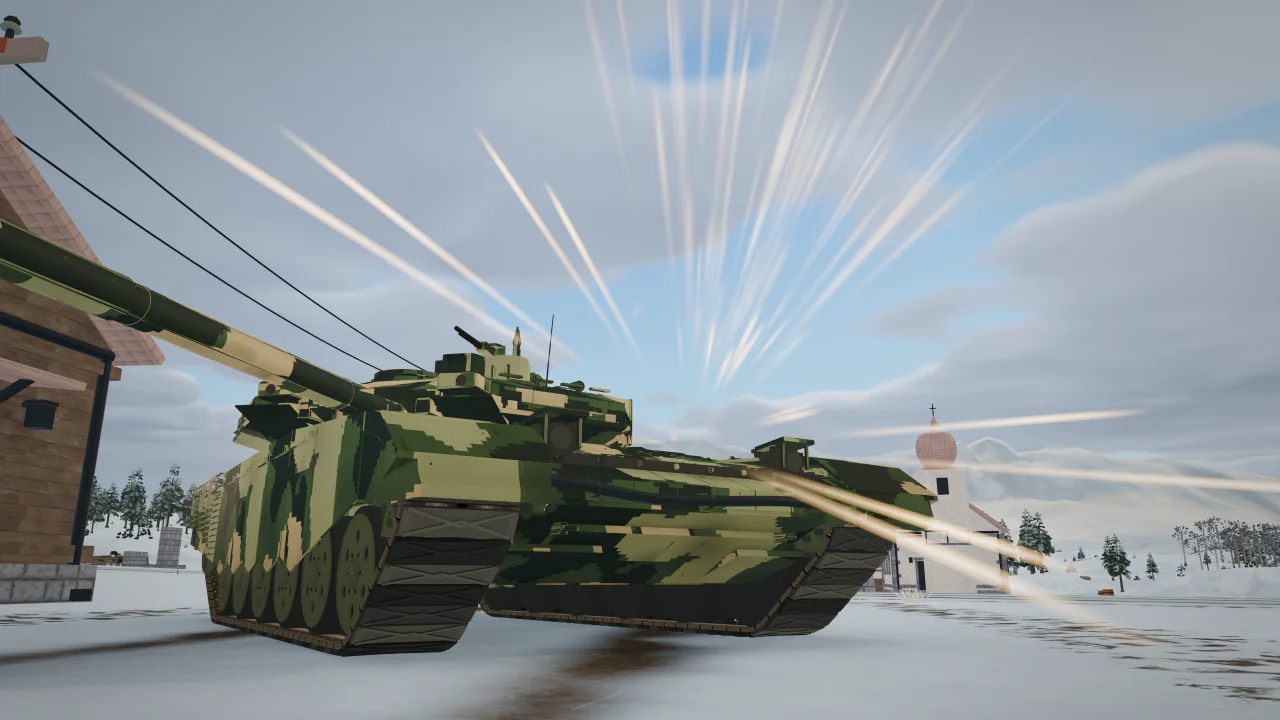
Not every plate is solid steel, and not every shell needs to go through.
- Air gaps cost HEAT 5 % of its penetration per 10 cm.
- ERA takes a fixed bite out of HEAT and a share of a kinetic round; a tandem warhead goes through it unless the block is built against tandems.
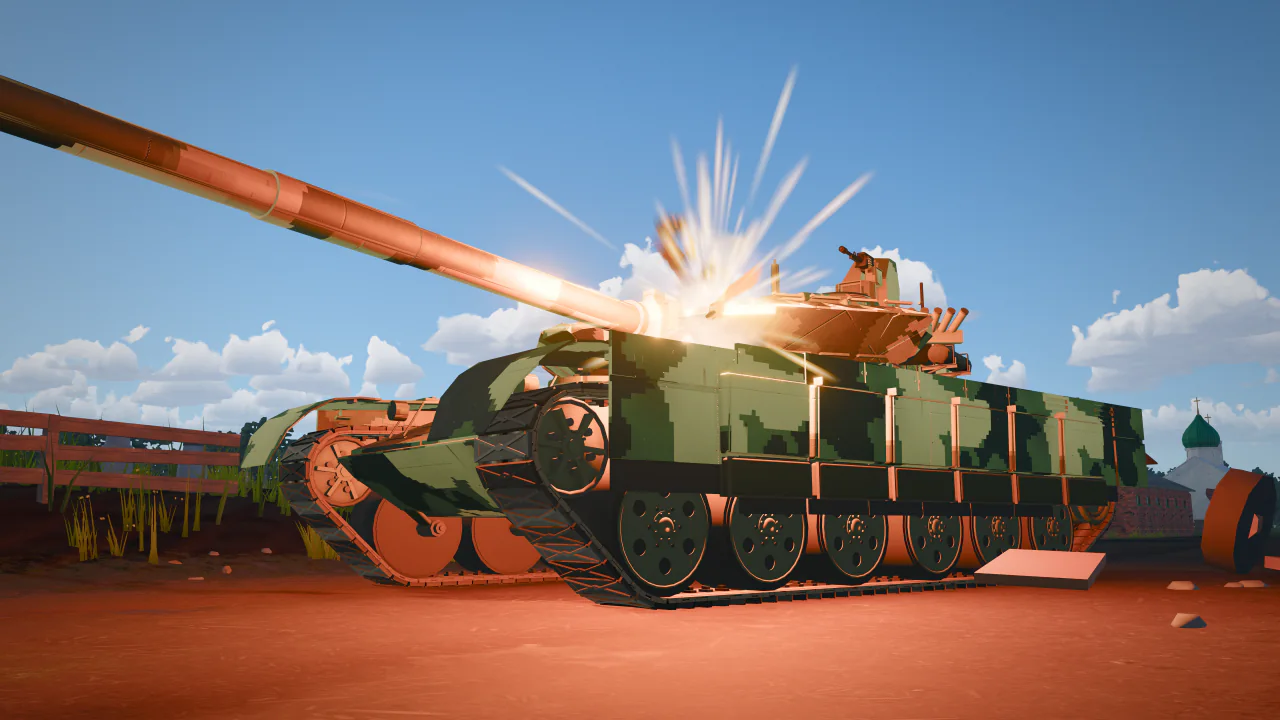
- HE never bounces: it blasts what it hits, plate or not.
Modules and crew
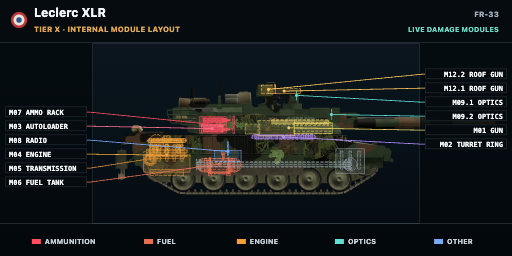
A hit that goes through can break what is behind the plate. Broken modules repair themselves after 10 s.
| Module | Hit points | Chance to be hit |
|---|---|---|
| Gun | 150 | 33 % |
| Turret ring | 120 | 45 % |
| Gun mount | 120 | 45 % |
| Autoloader | 125 | 36 % |
| Weapon feed | 110 | 38 % |
| Roof gun | 80 | 65 % |
| Missile rack | 120 | 30 % |
| Engine | 160 | 45 % |
| Transmission | 140 | 45 % |
| Fuel tank | 120 | 45 % |
| Ammo rack | 150 | 27 % |
| Radio | 90 | 45 % |
| Optics | 80 | 45 % |
| Track L | 100 | 100 % |
| Track R | 100 | 100 % |
- A damaged ammo rack slows the reload ×1.5; a destroyed one blows the tank up.
- A damaged engine catches fire 15 % of the time; a fire burns 10 ticks of 0.5 % hull and may go out by itself (12 % a tick).
- A shell that goes through hits a crew member 33 % of the time (10 % for HE splash); losing every crew member loses the tank.
- Damaged optics cut the view range by 50 %.
- A working radio shares what you see within 600 m; a damaged one within 300 m.
The kill cam
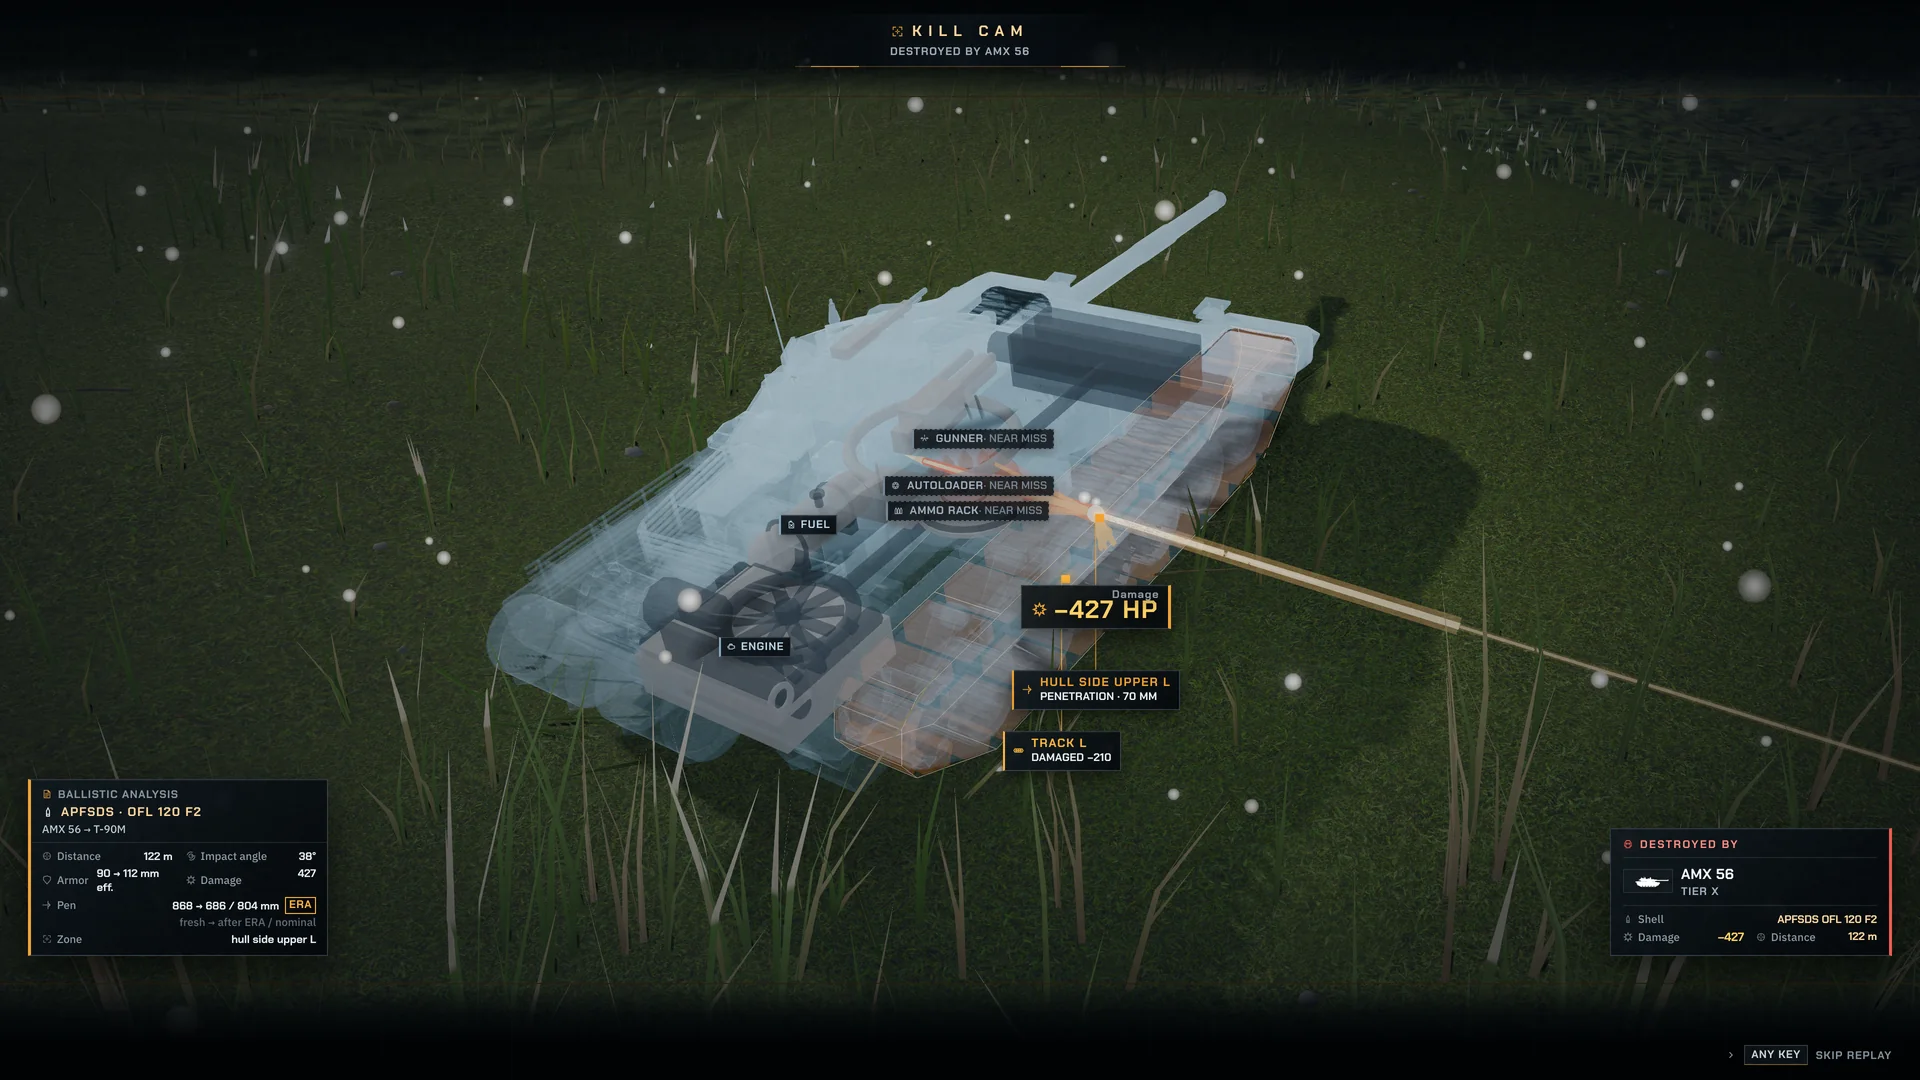
When you are knocked out, the kill cam replays the last shot through your tank, made see-through: the shell's path, each module and crew member it hit, the damage, and who fired.
Spotting
You see a tank when it is inside your view range less its camo, between 50 m and 445 m.
- 445 m view range
- 380 m view range
- 300 m view range
- Inside 50 m a tank is always seen, even through cover.
- A tank stays seen 5 s after the last sighting.
- The sixth-sense lamp lights 3 s after you are spotted and stays 8 s.
- Firing strips most of your camo for a moment; bushes near you turn see-through after you fire.
- Bushes and trees add up to 50 % camo; a camo paint that matches the map adds 3.5 %.